INTRODUCTION
Macros in CONSOLE AI allow you to recall a set of actions (commands) via a single name or reference. Macros help to streamline the process in comparison to calling the actions individually.
To further streamline the process, timers can be set to recall the macros at a specific date and time. Macros can be set to run once or at regular intervals. The timer expiration date can be specified too. The timer functionality will be discussed in another article.
There are 3 ways to create macros:
- Record macros.
- Type macro commands.
- Use the Command Wizard.
RECORDING MACROS
Recording macros is the most straightforward method of setting macros up and the most efficient.
It is possible to record routing and channel properties live. To add actions not covered by these, the Macros screen will be required.
The following steps outline how to record live actions:
- Click on the Macro Recorder in the navigation panel:

- This will direct to the following screen which initially is an overlay window of the current FlowView:

- Click on Add... in this window. Shown in the far top-left of the above image.
- Set a name and description for your macro for future reference. Press OK.
- Open... the macro which you have just created to allow editing.
- It is possible to either record the macro using FlowView or MatrixView. The tabs within the top of this window allow the appropriate access.
- If required, choose the appropriate Partition at the top of this window. This may need to be changed when operating in Advanced Mode.
- If required, choose the appropriate Preset at the top of this window.
- Make any changes within the FlowView or MatrixView tab for routing.
- Make any changes within the Properties tab for each block's settings. For example, a filter change for a Line Input block.
- Make any changes within the Gating Groups for microphone gating options.
- Once complete, press the Close button at the top of the window.
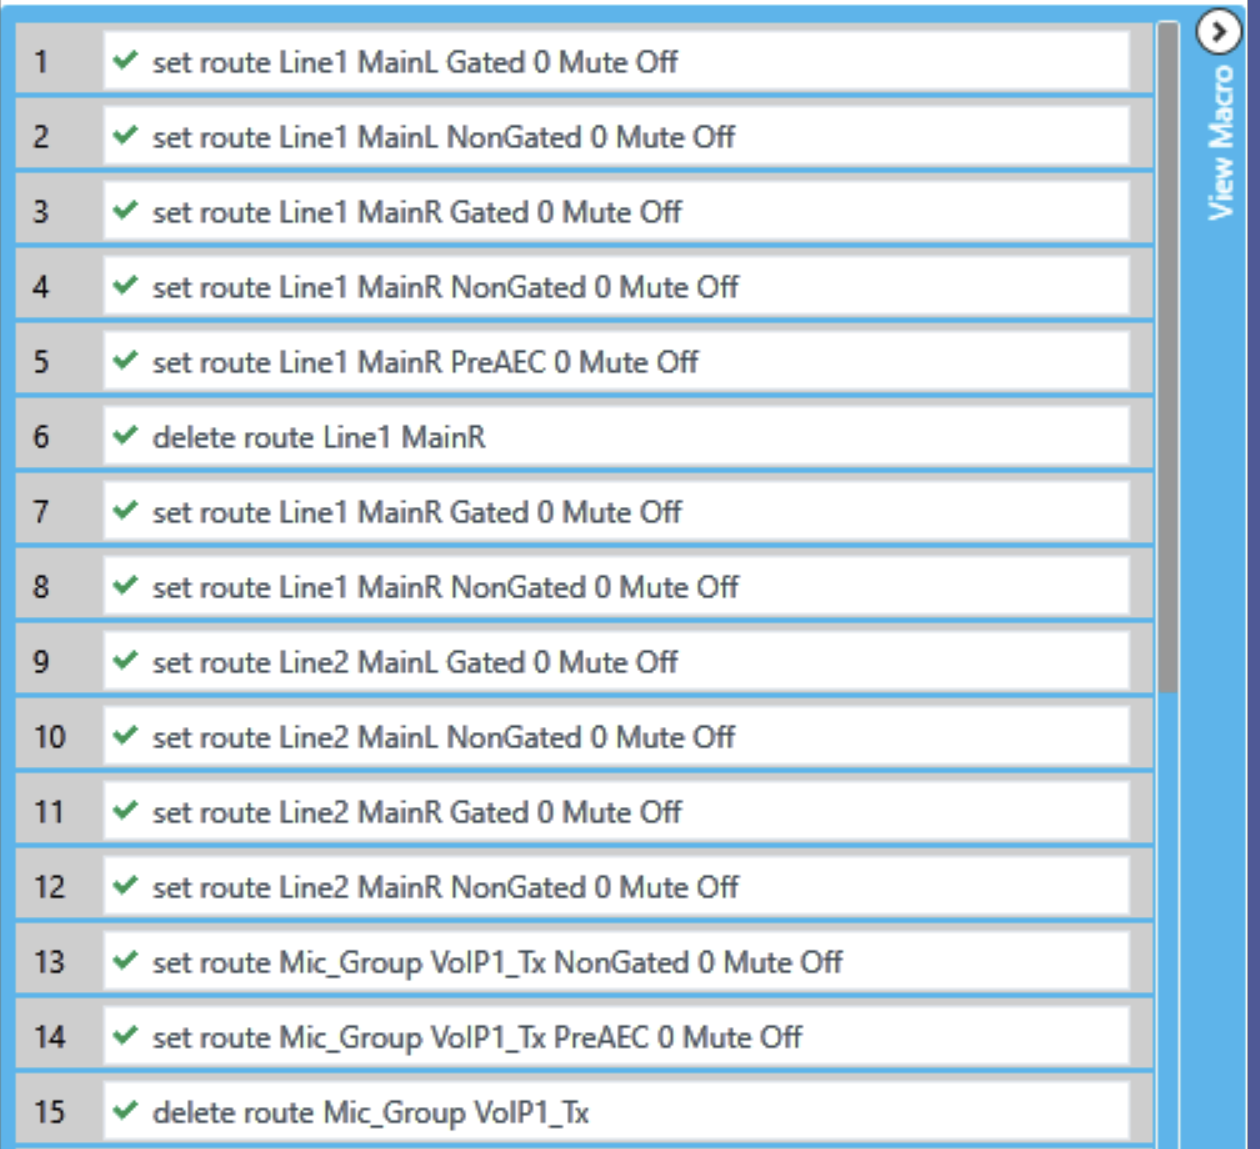
- All changes can be viewed in the View Macro section to the right side of the window:
TYPING MACRO COMMANDS
- Click on Macros in the navigation panel:

- This will direct to the following screen which is the macro window:

- Click on Add... in this window. Shown in the far top-left of the above image.
- Set a name and description for your macro for future reference. Press OK. A blank command will be added to the right side of the window under Commands.
- Click in the empty field to begin editing.
- As you begin typing a command here, it will provide recommendations (Auto Complete). For example, an 's' would suggest set and setrelative. Fill out the full command in this manner.
- Continue to introduce all commands by using the Add button to introduce new empty fields to be filled in.
- Individual commands can be removed via the Delete button if required.
- Commands can be re-organised via the Move Up and Move Down buttons.
- If required, a macro can be cloned (duplicated) here by selecing the macro then clicking Clone...
- When a macro is no longer needed, it can be removed by selecting the macro then clicking Delete...
- The Edit... button will allow you to rename the macro or the description.
Auto Complete works when you are at the end of the command string, but does not work if you click in the middle of existing commands.COMMAND WIZARD
The command wizard is a useful tool to determine the correct commands to be entered within the Macros section.
- Follow steps 1 - 5 from the Typing Macro Commands section.
- Select the Command Wizard... option under the Commands section of the window:
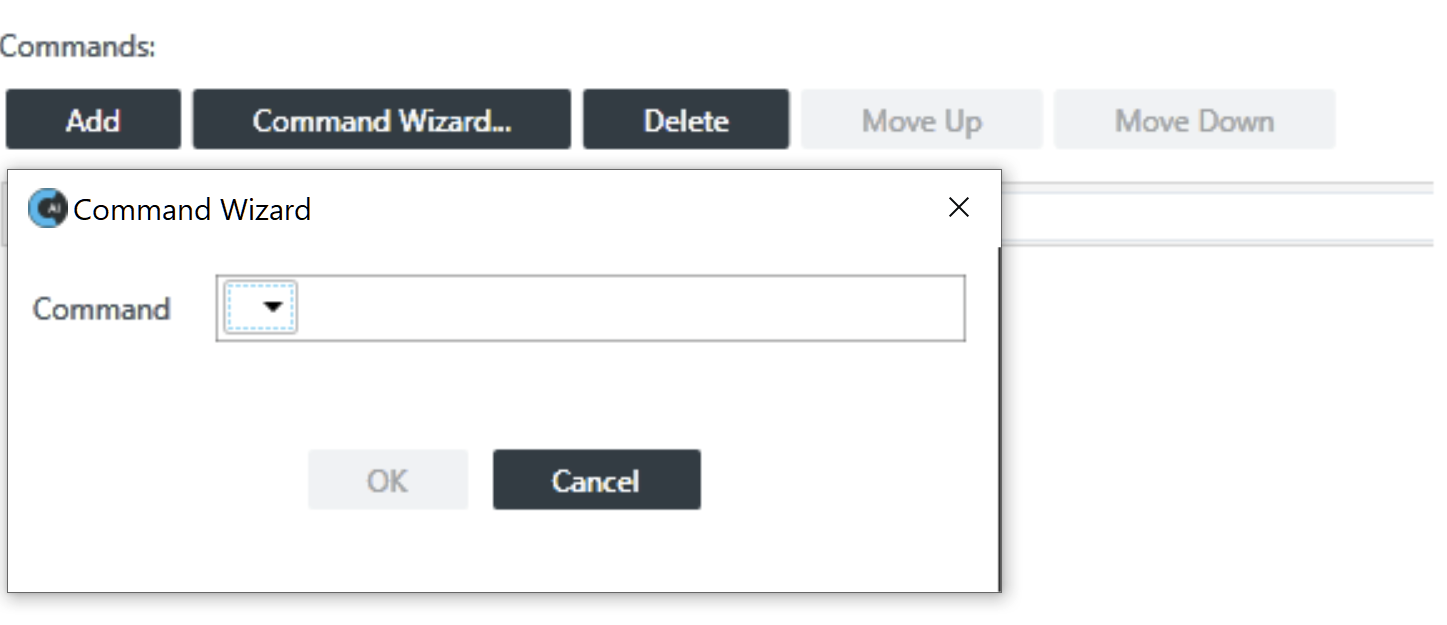
- Within the left drop-down box, you will be able to choose various options:
Command Description set Use to create a route between channels, between channels and groups, between groups, or else to set channel properties. run Use to run another macro. Be careful not to create a macro to run itself! wait Use to wait a specified amount of time before executing the next command. delete Use to delete a route between channels or groups. setrelative Use to set a gain value that is relative to the current gain value, rather than an absolute value. - Dependent on which option you have chosen, the next section(s) will offer suitable parameters.
- Once complete, click on OK.
RUNNING A MACRO
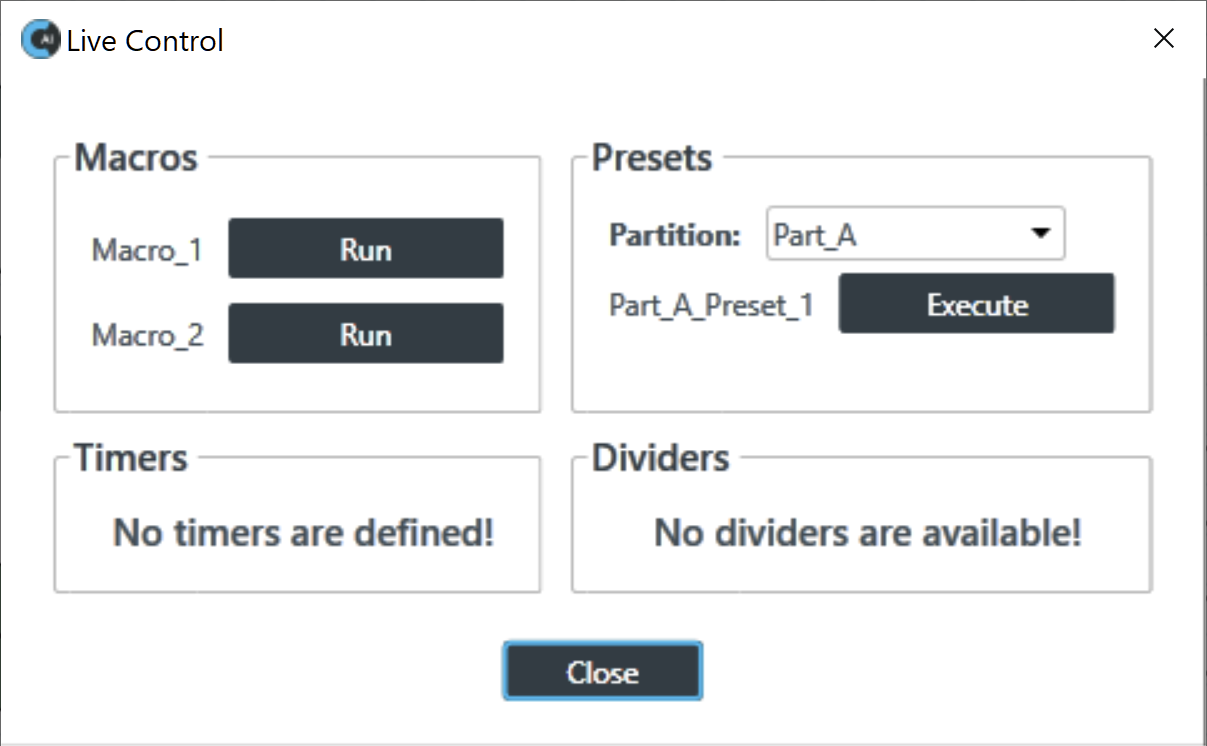
Macros can only be recalled during live control of a CP2 system. Once connected, you will need to navigate to the top navigation panel and select Live Control:

Opening up the Live Control window will show each Macro which can be individually ran: