Introduction
The below example details how to setup an AP4 access point in full-duplex mode in a system that utilises a private GroupID, the following example uses the following Beyerdynamic hardware:
1 x UNITE AP4 Access Point
1 x CDS-4/2 Cockpit Charging Dock
1 x UNITE TH Handheld Transmitter
PLEASE NOTE: An AP4 system that utilises a Public Group ID does not need a dedicated UNITE cockpit charger for pairing. Any AP4 system that requires the use of a Private Group ID will require a dedicated cockpit charger.
Setting Up:
At base level, you will need to connect your PC/Laptop's Ethernet adapter to the same LAN as both the AP4 and CDS-4/2. By default, UNITE devices are set to receive an IP address via DHCP, but will not default to a 169.254.x.x link-local IP range in the absence of one, so at minimum, you will need to be able to allocate IP addresses via DHCP to discover the devices, of which you can then statically assign if there will not be a permanent DHCP server present on the network.
TIP: Some switches can utilise an on-board DHCP server, or you could use a temporary device such as the TP-Link WR902AC, which is a portable wireless router (with built in DHCP capability) to initially allocate devices with IP addresses, before setting them statically.
TH/TP as AP4 Sub-master:
Before any configuration in UNITE manager takes place, you will need to set your transmitter to 'AP4 sub-master' mode, this can be found in the hand held device sub-menu System > Device Mode > AP4 Sub-master:
Once this is complete, the device will rebooting using a different firmware image variation to operate in this mode. You may now place it back inside the charging dock.
Unite Manager:
Open up an instance of the UNITE Manager software package, and you will be presented with a screen that looks like the below: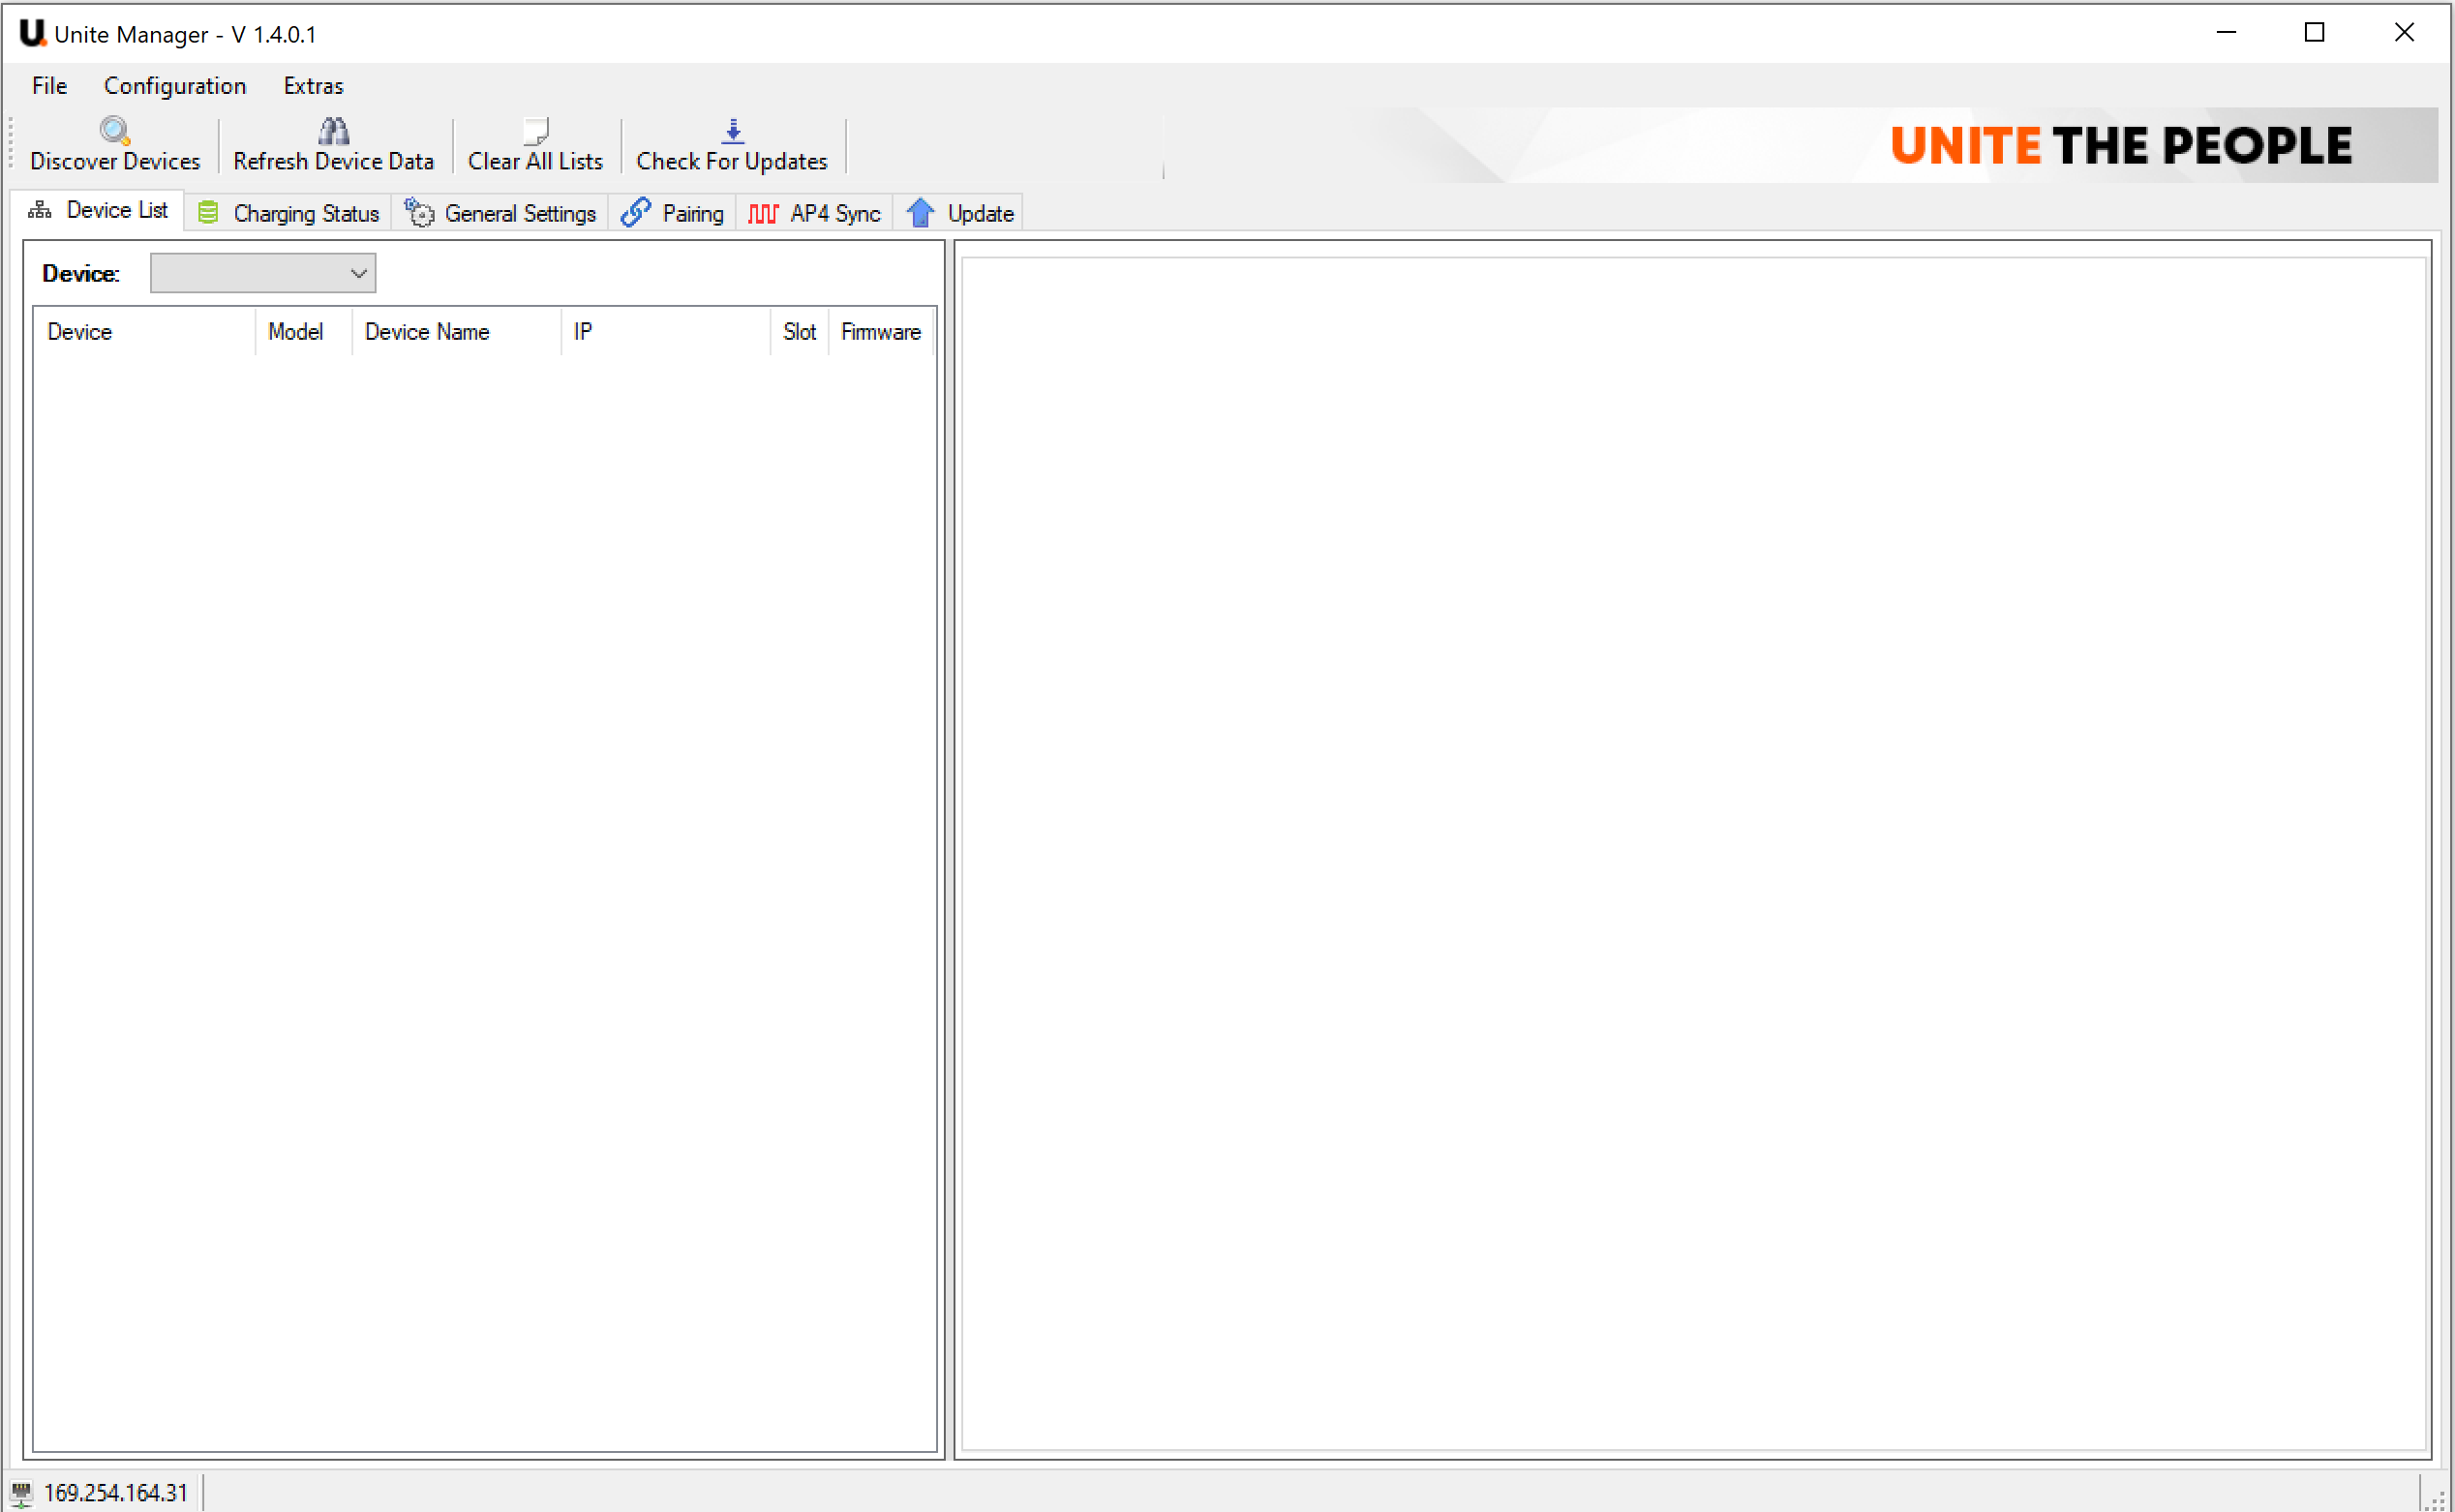
In the bottom left hand corner, the software will display the current IP address your Ethernet adapter is reporting: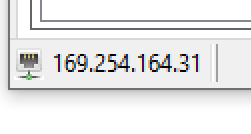
If you have multiple adapters you can select the correct one from the Configuration > Settings menu as shown below:

Once you have selected the correct adapter, press 'OK'. You will then be returned to the main UNITE manager window.
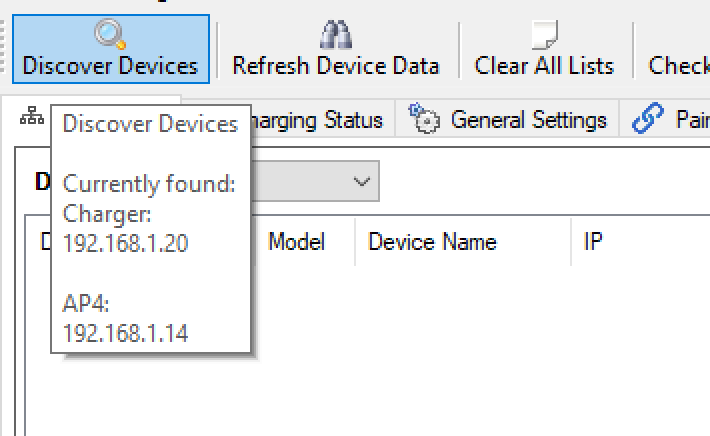
You can then press 'Discover Devices' from the top left hand icon menu, you will see a dialog window detailing devices that have been discovered:
Then click 'Refresh Device Data' to populate UNITE manager with recently discovered devices: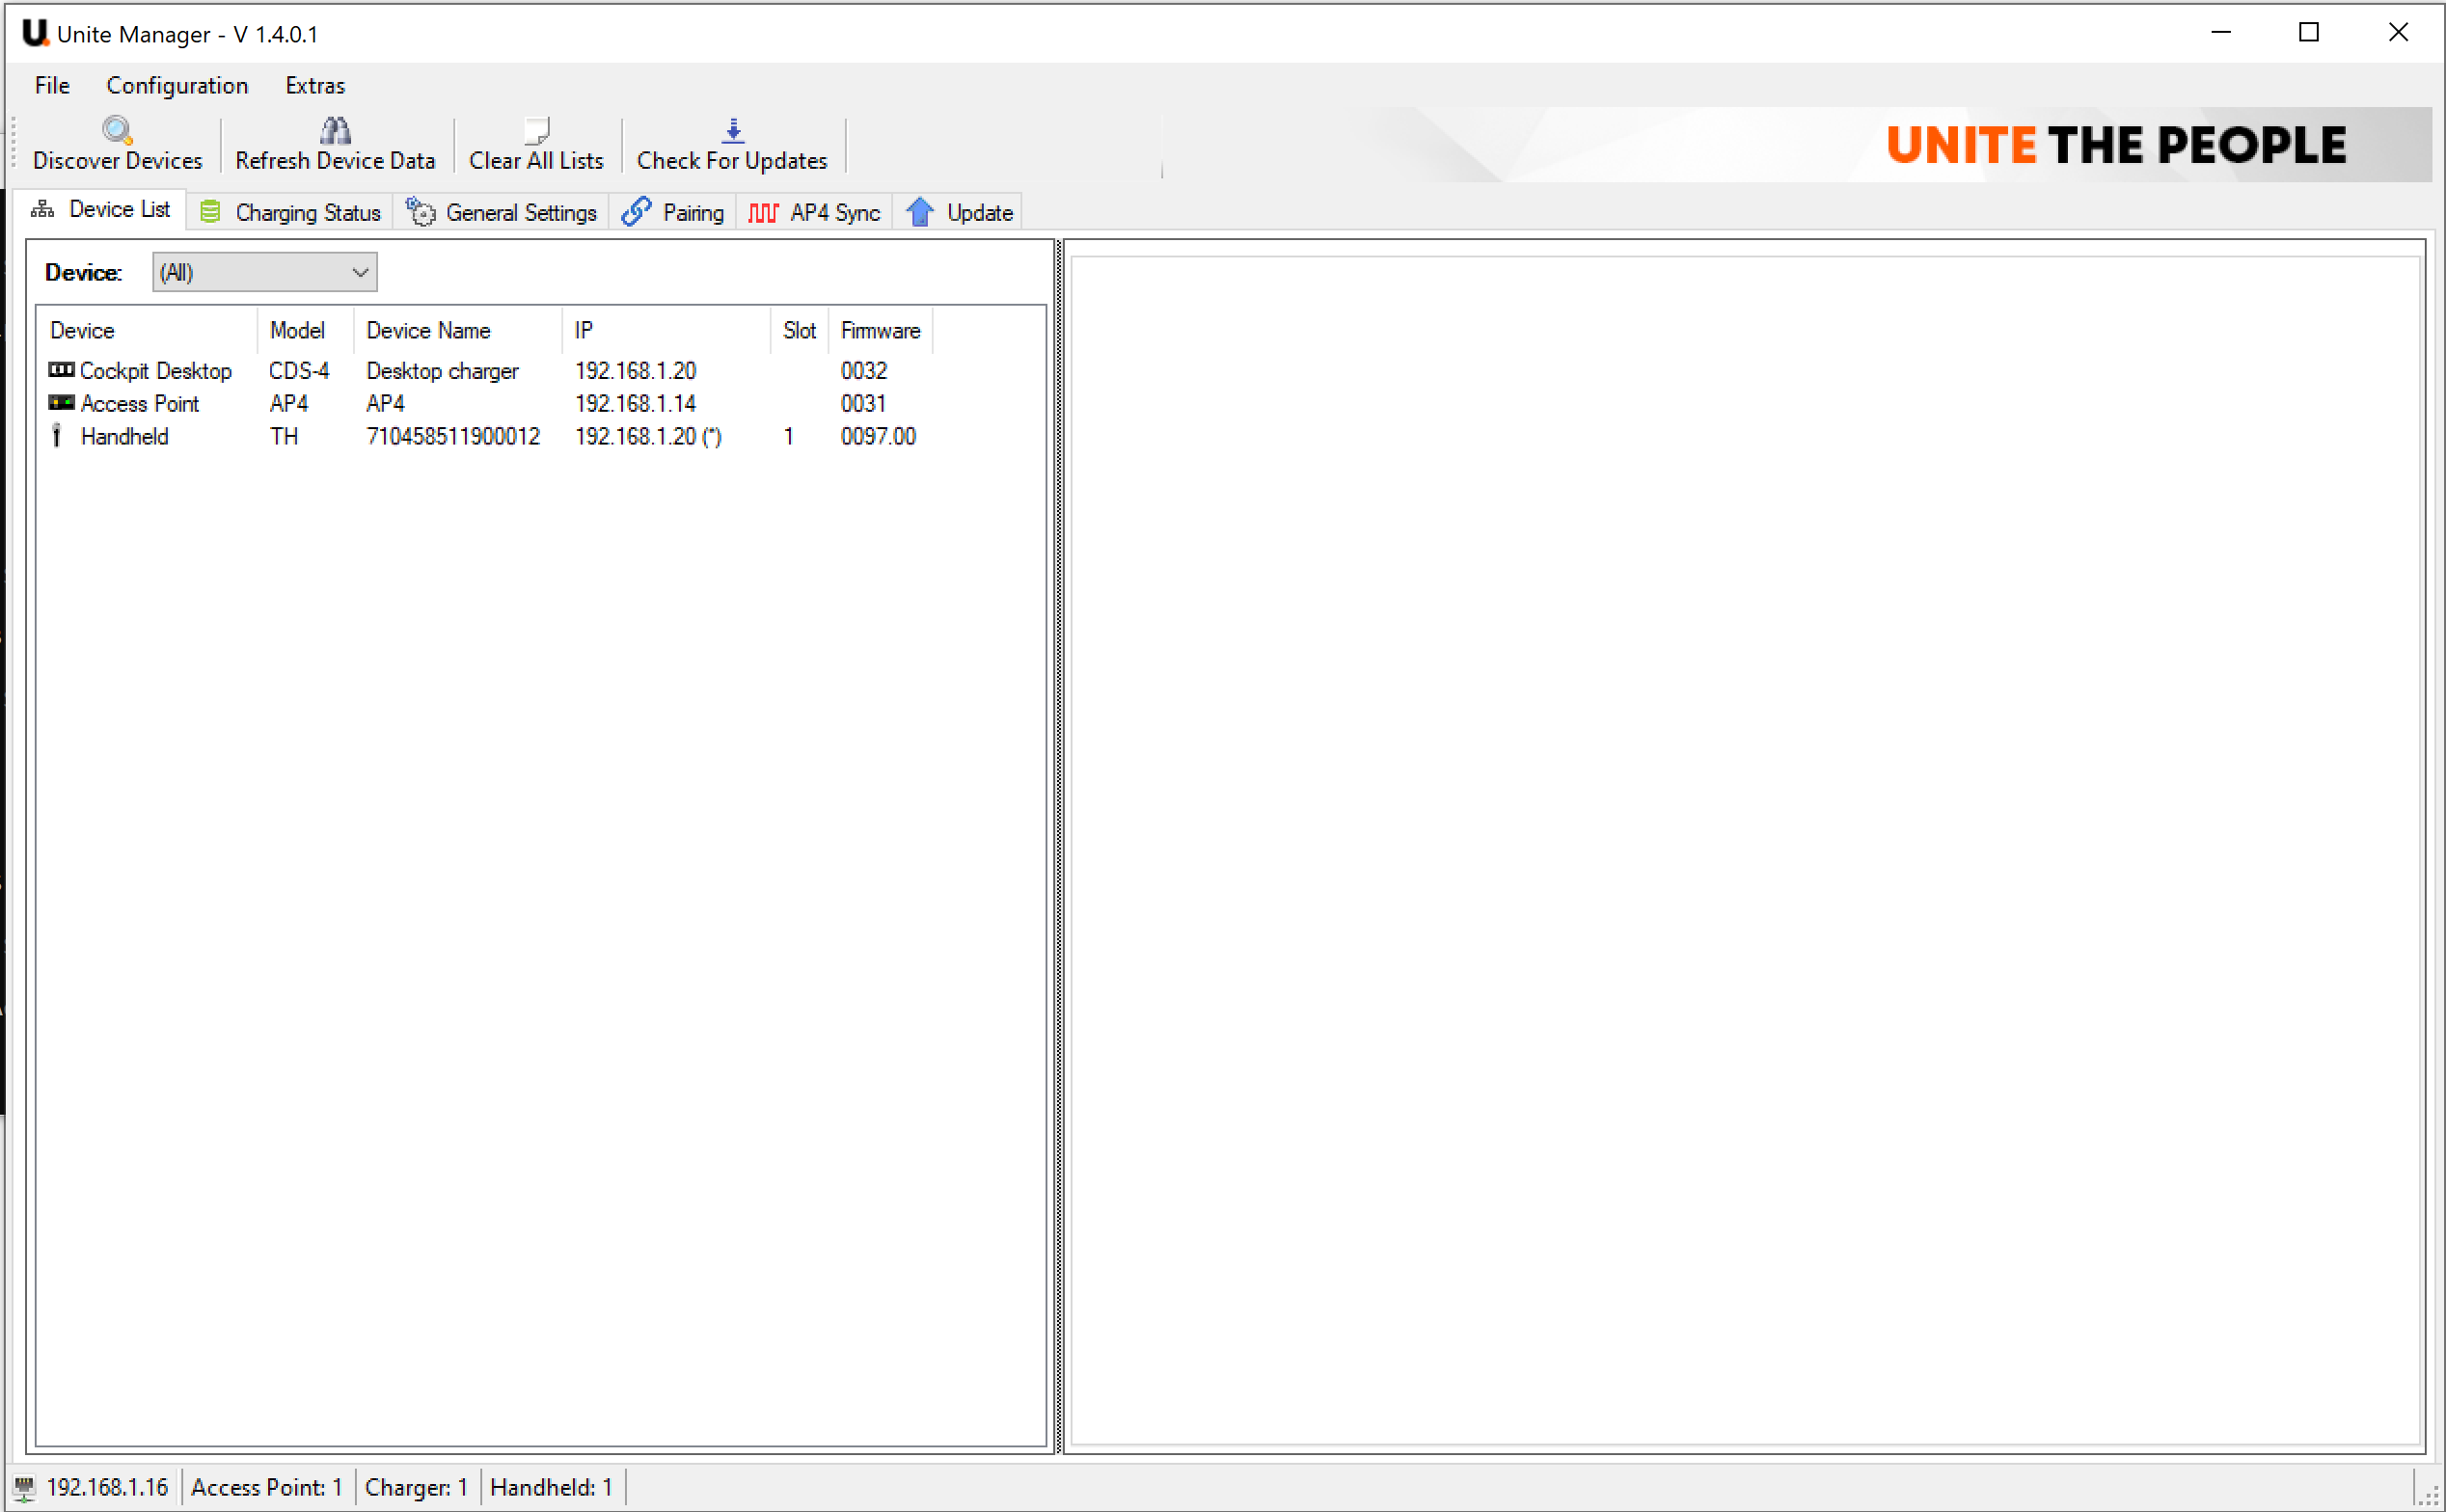
To create a 'Full Duplex' pairing between an AP4 and charging dock, navigate to the 'Pairing' tab followed by the 'Static Channel List' sub tab. Then set the operation mode to 'Full Duplex' for your selected AP4: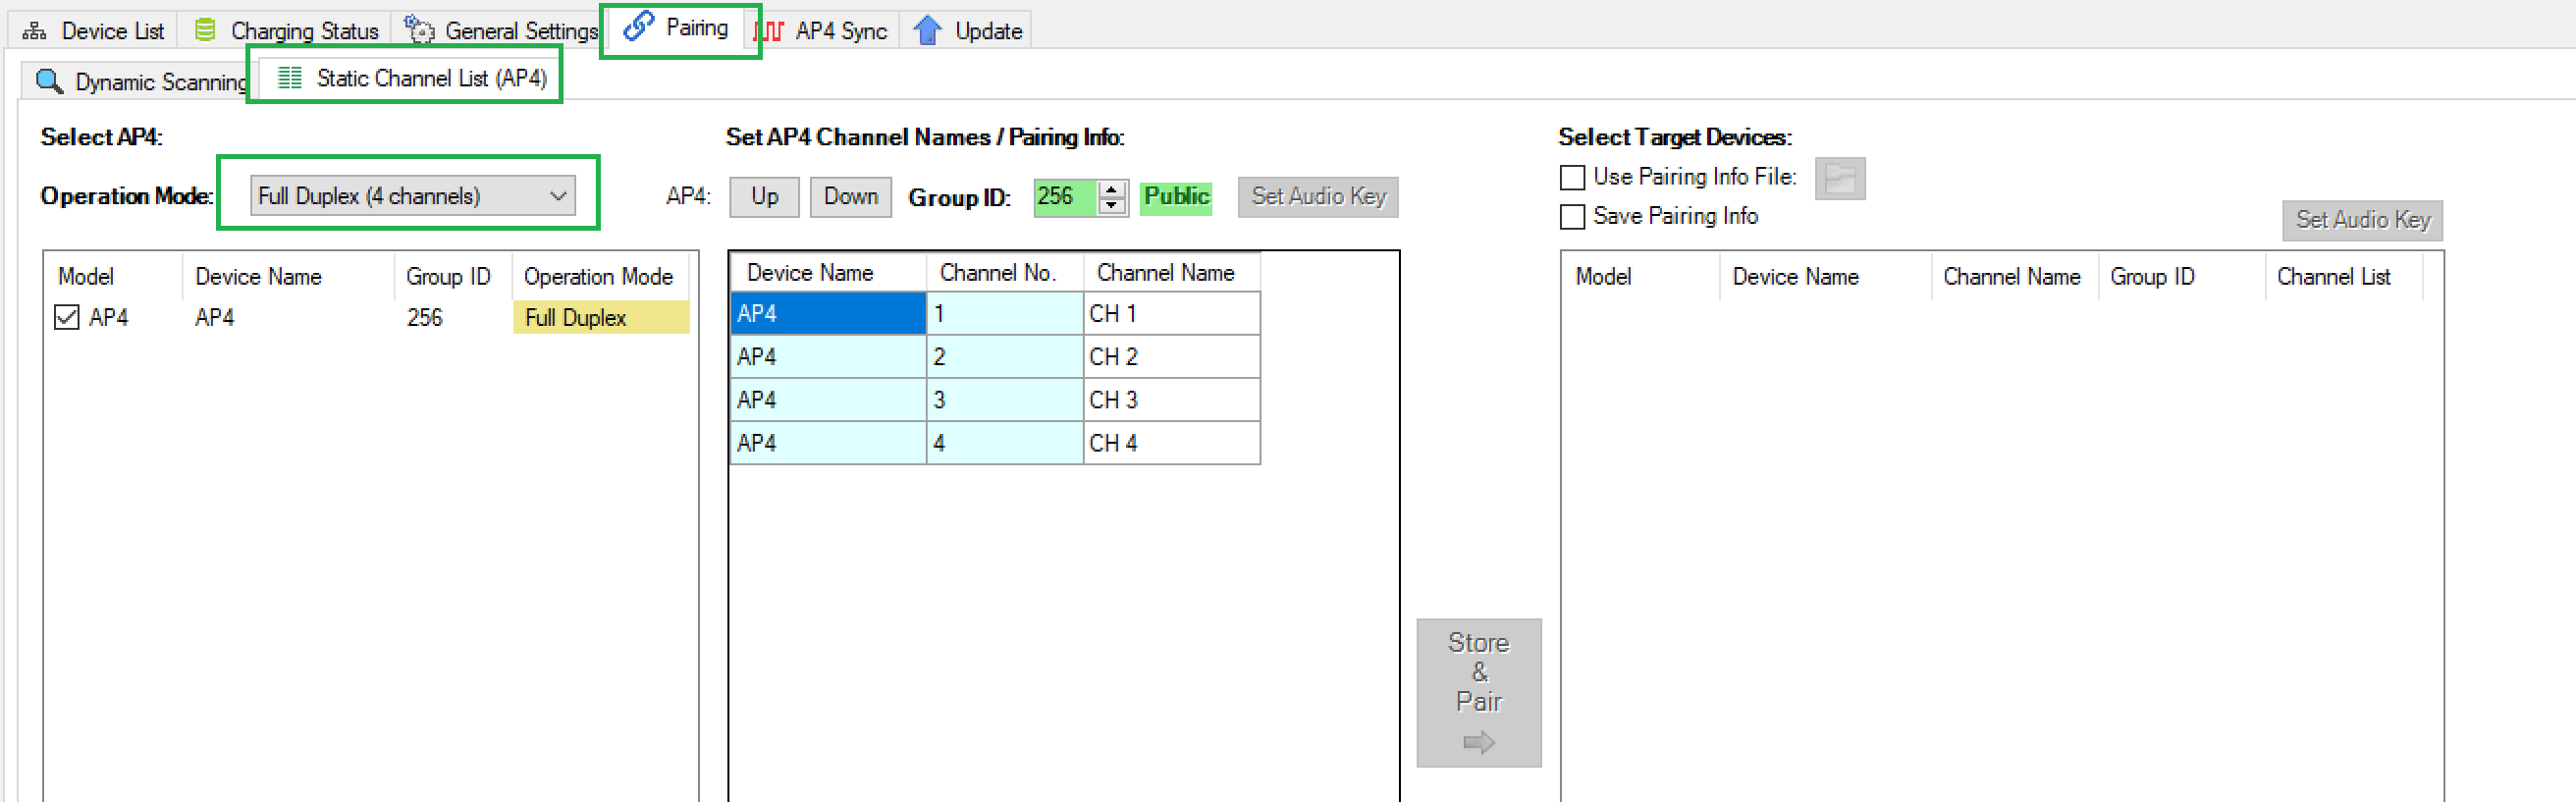


You must then create a pairing between the microphone and the charging cradle, which can be found under the 'Dynamic Scanning' tab:
Once a pairing has been created between transmitters and charging cradle, you can then return to the 'Static Channel List (AP4)' tab :
1. Select your chosen AP4 from the left hand window.
2. Rename your AP4 channels as appropriate.
3. Set your Private/Public Group ID.
4. Select the relevant transmitter device to be paired to the appropriate AP4 channel that you renamed in step 2.
5. Hit the 'Store & Pair' button.
Once the pairing has been sent, the relevant transmitter device will be paired as a "Sub-Master" to the AP4 channel you selected, this will allow you to receive the transmitter audio either via the Analogue or Dante outputs of the AP4 access point.
For more details on understanding the mechanics behind UNITE and how masters and sub-masters work, please visit our support article on the UNITE Application Guide.